Garrattfan's Modelrailroading Pages
NS 6200 class
Prepping the 93
Disassembly, cleaning and testing |
|
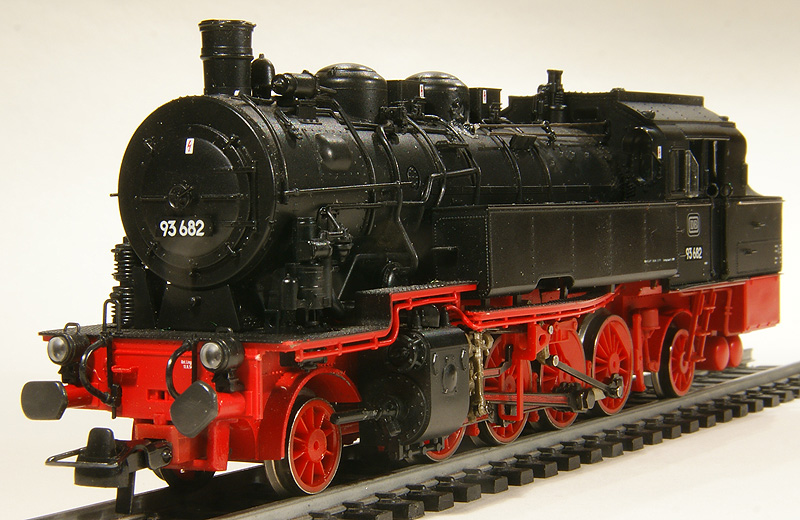
Well, this was the starting point as on March 11, 2010. A beautiful model in itself I've kept it untouched on my shelf for a few weeks. My eyes feasted on the lavish detail that is common for Roco in combination with a German (Prussian) prototype. |
|
|
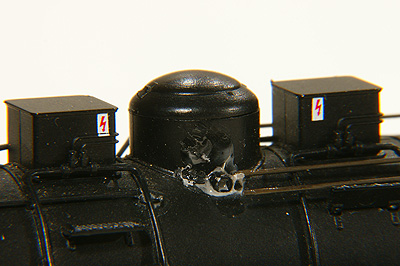
Disassembly starts with separating the superstructure, the "hood", from the chassis (the "frame"). Well, here I immediately encountered problems. I removed the cab by carefully clicking it away. From other Roco models I knew this would be a feasible place to start. Underneath I found two screws. Aha!! To my utter disgruntlement the hood did not move after unscrewing. I spent over an hour searching for the culprit that still held the loco together. To no avail. I needed the documentation supplied by Roco. It was not present at my used model so I posted a help question on a Dutch model railroading forum and within 24 hours I had a satisfactory answer: a copy of Roco's BR93 Instructions manual!! (Thanks again Johan!!). The manual showed the screw is hidden under the steam dome which has a removable top. In hindsight you can see the minute seam in this dome on the photo. After lifting the hood I carefully |
disassembled the hood, storing parts for reuse. I considered selling the hood as a complete item but it was not in a pristine condition, so it will end up in the odd bits and pieces box. When disassembling the frame I meticulously noted every step. I need to assemble it again!! I put the various parts in plastic bags as to keep them organized. I also made some photos to "digitally memorize" the original setup. |
|
 |
Before taking out all connecting rods of the drive I made this photo in order to be able to put all pieces back together again. |
 |
Knowing which screw is going where is also pretty important. Of four screws that serve as there are three different types (nos 1 and 4 are identical). Looking at the form of the screw one might guess which one to put where, but better to record "lest we forget", to cite Kipling. |
 |
Electrical setup and axle setup in the frame, just before removing the axles. |
 |
Gearbox setup (after cleaning and reassembly for the sake of the photo).
|
 |
A propos cleaning. The engine was a used model and it was extensively run. When I bought it, it would hardly run. All moving parts were crusted and clogged with grease and oil forming a sticky mass. I bathed all parts in white spirit and rinsed any contamination away. I reassembled the gear box, axles, connecting rods and wheel sets to the frame and did a running test. It ran well. A few drops of oil would do wonders now, but that will have to wait until after complete reconstruction. |
In less than no time everything was boxed. The bags contain among others the left and right hand side of the coupling rods and their accessories, every side in a separate bag. Some note papers were added to remind me later what it all was |
|
 |

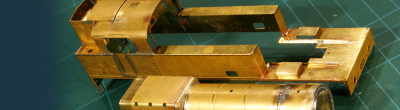
The frame is a work of art in its own right, its elaborate detail a source of endless amazement. Simply take a look at the embedded gearbox and awe at the beautiful lines! |


Sign my
GuestBook